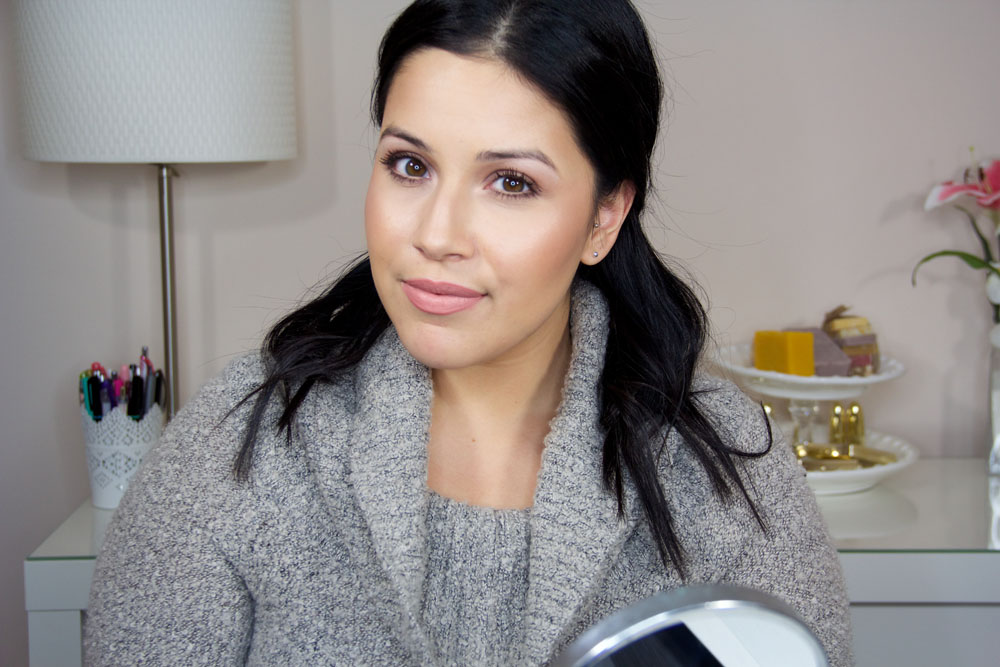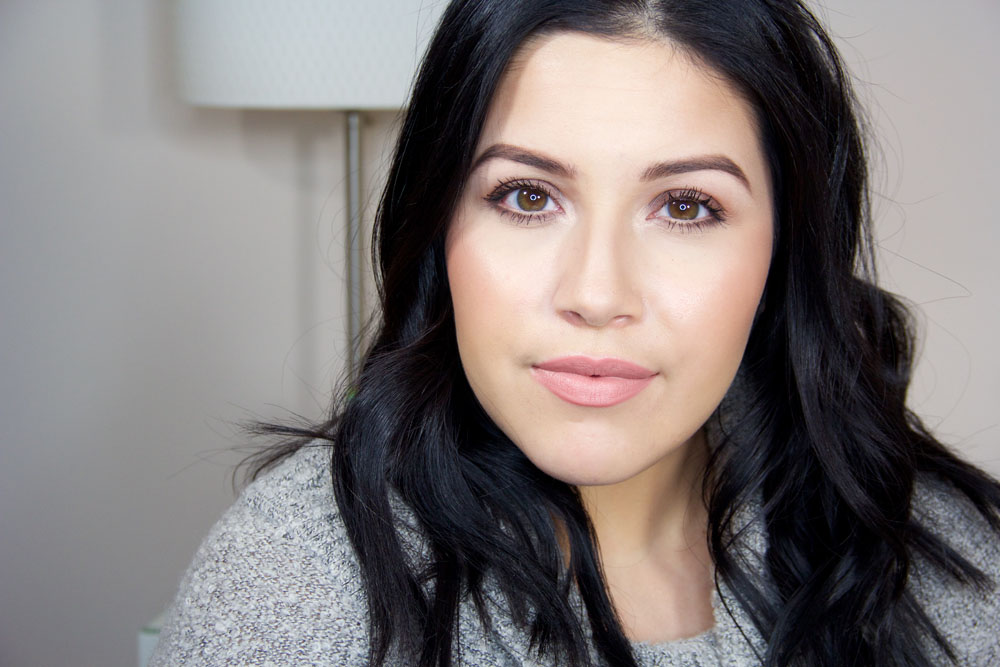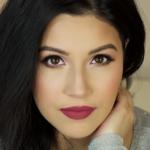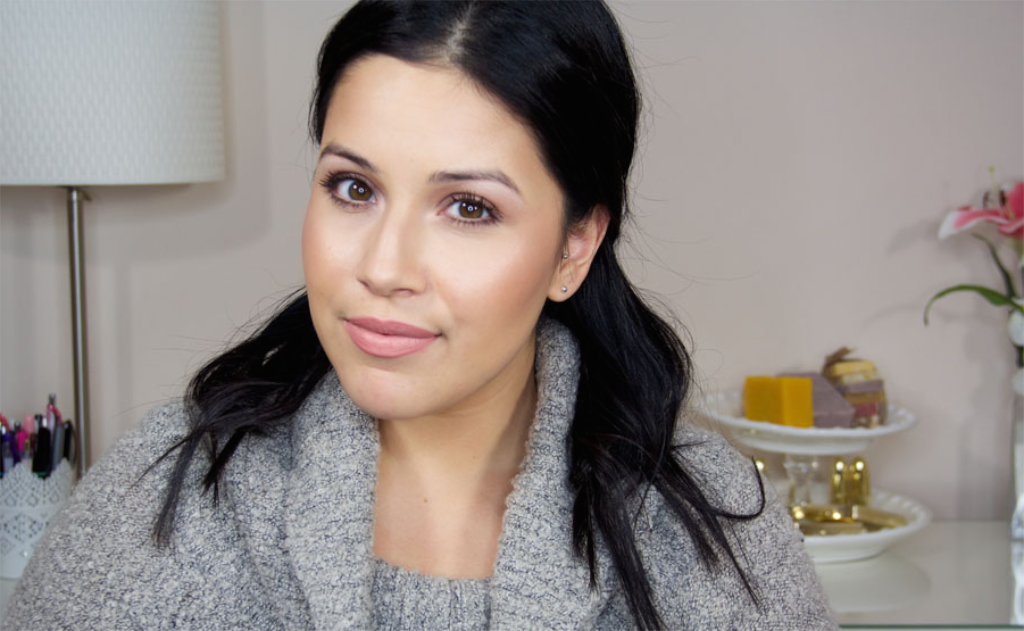
It’s no secret that “doing your eyebrows” has become quite the thing in the beauty world.
In fact it’s become quite the thing in my world. But why? The answer to that is simple-it frames your face. It gives your face a more balanced and defined look making you appear more confident. Weird how makeup can do that, huh? For me this is must-do even on the days that I’m wearing a more natural look. It just ties it all together!
How do you get this look?
Well, I’m going to show you! Today, I’ve teamed up with Ulta Beauty & Anastasia Beverly Hills (the Queen of Brows) to show you 5 steps on how I achieve my bold brow. I’ve been using these products for the past 2-3 years so they are tried and true! Trust me, you don’t want to miss this tutorial! #browgoals
- Clean Brows: First you want to make sure that your brows are nice and clean. I use the spoolie to brush through the hairs in an upright motion. This allows you to take note of any patches you may have while giving you a nice surface to work with.
Tip: Tweezing those unwanted hairs prior to filling in your eyebrows will give you an even more defined & clean look
- Shape Brows: Start by outlining the shape (or desired shape) using the Brow Wiz. This pencil is great because it gives good precision and it’s easy to maneuver. Plus side: It comes with a spoolie! Once you start make sure to use light strokes and go in the direction of your natural hair-this helps with giving it a more “natural” look. Personally, I like to start in the middle of my eyebrow in case my hand gets too heavy. After you’re done make sure to use the spoolie to blend it all out.
- Fill In Brows: Since we’re focused on a bold brow look we’re going to be extra. And by that I mean doing more steps than usual to get those brows looking-how do they say-on fleek? Next, we’re using the Brow Duo to shade in our brows. My favorite thing about this product is that it’s a 2-in-1! Use this product to fill in any spots that you may have missed, but remember to keep a light hand! I like to use the lighter shade for the front of my eyebrow and give more of an ombre effect. Don’t forget to blend with the spoolie when you’re done!
Tip: On the days when you want a more “natural” look be sure to just use the duo. The powder gives a softer effect!
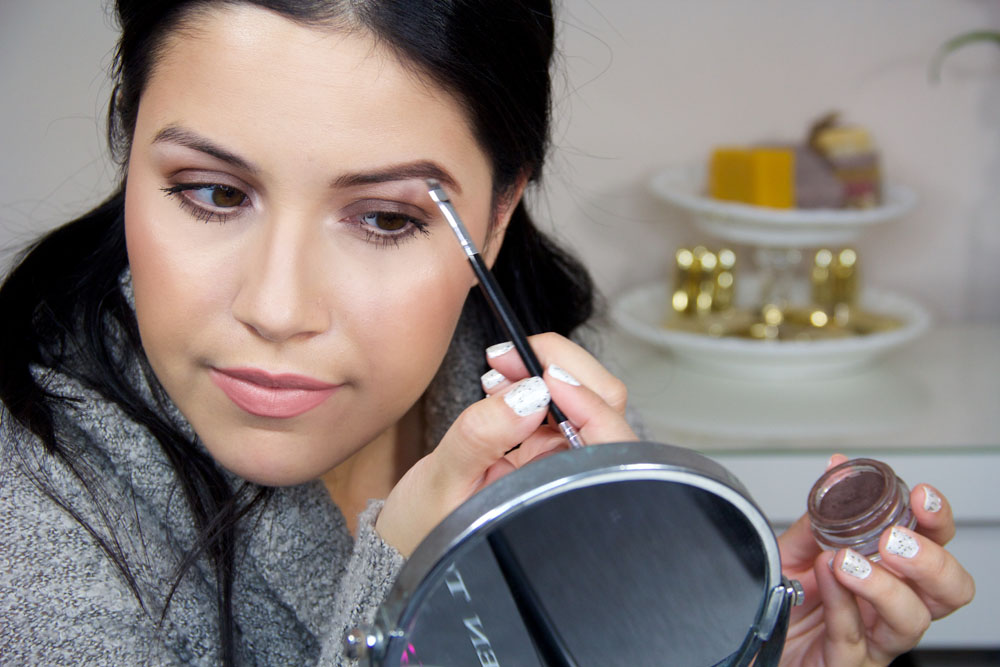
- Define Brows: Now, I’m going to trust you and tell you my secret weapon to bold brows *shocked emoji* Yes, we’re talking about the Dipbrow Pomade. This stuff is l i f e when I want my brows to look very bold and defined. Use a light (and I mean it!) hand when using this product because a little goes a long way! Plus, this stuff is waterproof so you won’t have to worry about sweating off your brows (that may or may not have happened to me).
- Correct & Set Brows: This was actually my first time using the Highlighting Duo Pencil and I loved it! I usually use concealer, but this pencil make it’s so easy to just swipe on and blend. And that’s exactly what you have to do! Run the matte end right under your brow. This will cover up any mistakes you may have made (trust me-I still make them) and accentuate your arch. Final step is to set your brows with the Clear Brow Gel. The gel keeps your hairs in place so you don’t have to fuss about them alll night.
Tip: Use the highlighter end of the pencil in your inner tear ducts. This will make your eyes look more open & awake!
This is definitely a game changers for me and something I can’t see myself not doing!
What about you? Are you obsessed as much as I am?
Make sure to tag me on social media if you recreate this look! (@tiffanydiana)
xo
Disclaimer: All products (except Dipbrow Pomade) were provided by Ulta Beauty & Anastasia Beverly Hills. This was a collaboration and all opinions expressed are my own and genuine.
